How to Install a Fiberglass Swimming Pool?
Fiberglass swimming pools offer homeowners a durable, low-maintenance, and visually appealing option for their backyards. Not only do they provide endless hours of relaxation and fun, but their installation process, designed for your convenience, can be quick and relatively simple compared to other pool types.
In this guide, we will walk you through the steps of installing a fiberglass swimming pool, ensuring you understand what to expect and how to prepare. If you’re interested in the fiberglass pool installation process, check out our dedicated page for more details.
Whether you're a DIY enthusiast or planning to hire professional pool builders, understanding the process is key to a successful installation. This knowledge empowers you, ensuring you can make informed decisions and oversee the project effectively. Let’s dive into the step-by-step guide on how to install a fiberglass swimming pool.
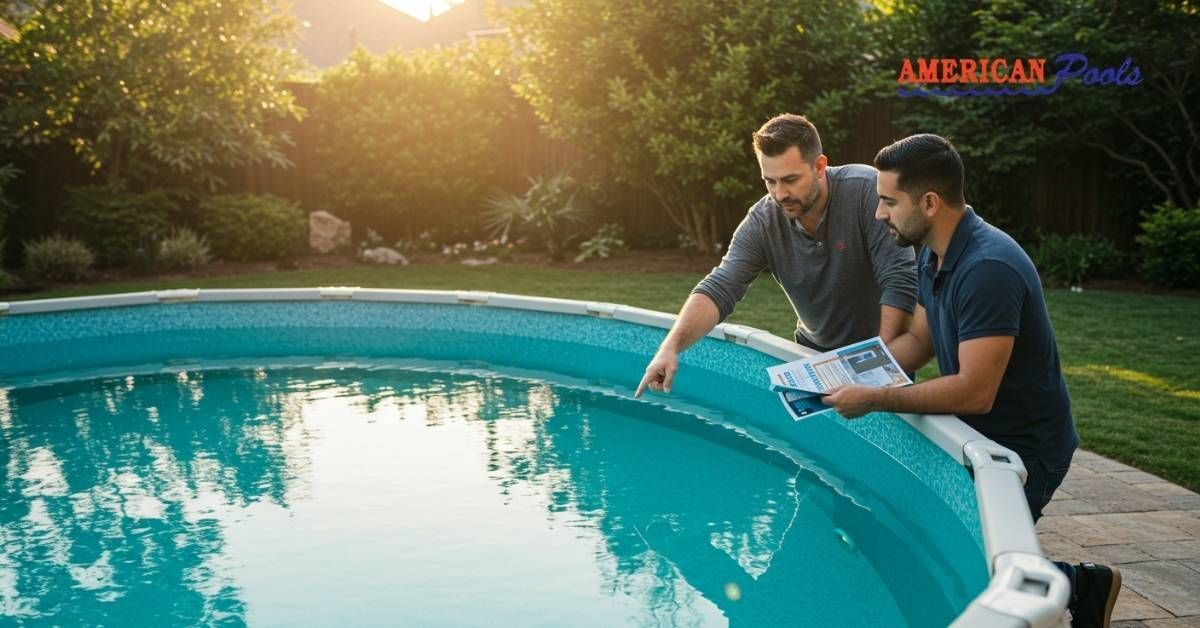
Prepare for Installation: Plan and Research
Before you break ground, proper planning is crucial. Start by doing your research and understanding the key factors that will affect your pool installation.
Obtain Necessary Permits
Before anything else, it's crucial to secure the proper permits from your local authorities. Local building codes may vary, so it's essential to work closely with your municipality to understand what inspections and permits are required for your fiberglass pool installation. This responsible approach ensures you're compliant with regulations and can proceed with your project smoothly. If you need clarification on the permitting process, you can always contact American Fiberglass Pools for expert guidance.
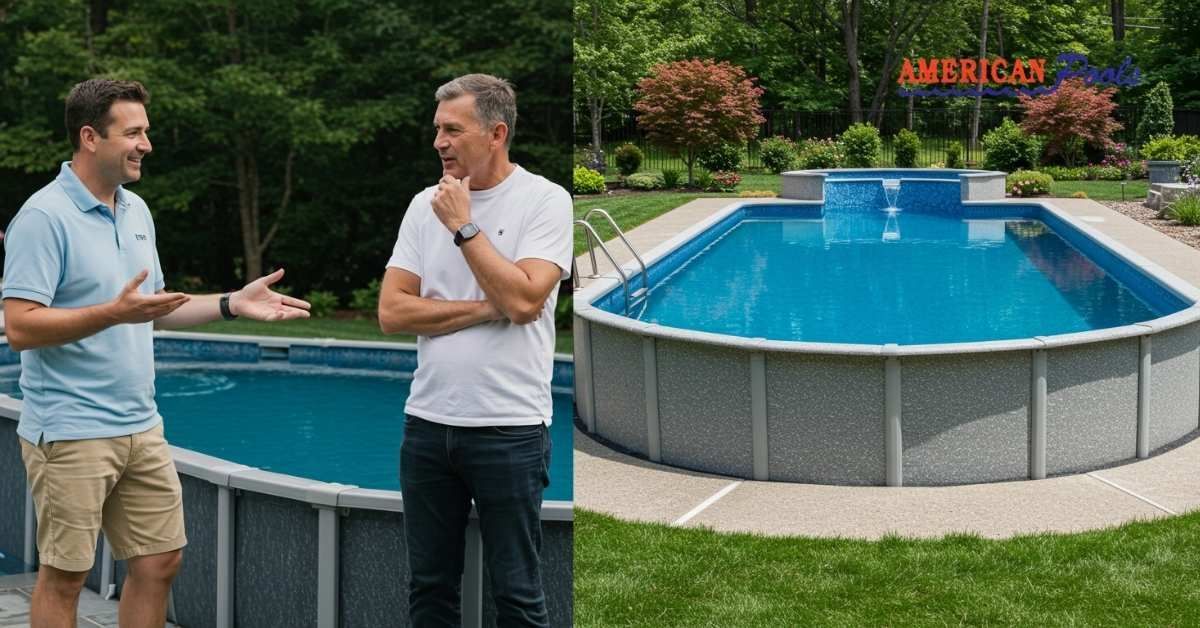
Select the Right Pool Model
Choosing the right fiberglass pool is vital for ensuring it fits your backyard and meets your needs. Consider factors like pool size, shape, and extra features like tanning ledges or steps. Your pool contractor can help you select the best option based on the available space and your preferences. Explore the variety of options available at American Fiberglass Pools to find the perfect fit for your home.
Assess Your Backyard
Ensure that your backyard has sufficient space for the pool and that it's free from obstacles like trees or utility lines. It’s also essential to evaluate the ground's stability to avoid issues later in the installation.
Create a Budget
Understand all the costs involved in your pool project. Besides the pool itself, remember to factor in additional expenses for excavation, backfilling, plumbing, decking, and landscaping. For an accurate quote, you can reach out directly to American Fiberglass Pools for a consultation.
Clear and Mark the Site for the Pool
Once you’ve planned everything, it’s time to start prepping the site.
Clear the Area
Remove any obstacles from the designated pool area. This includes trees, shrubs, rocks, or other landscaping elements that might interfere with the installation.
Mark the Layout
Using the correct measurements, mark out the pool layout in your yard. You can use a template or spray paint to outline the exact size and shape of the pool.
Prepare for Excavation
Prepare the site for excavation, ensuring that all utility lines are properly marked and that you have clear access for machinery to dig the hole.
Excavation and Ground Preparation
The next step is excavation. This is where your fiberglass swimming pool truly begins to take shape.
Dig the Hole
The excavation process involves digging a hole that perfectly fits the dimensions of your pool. A professional pool installer will use precise measurements to ensure that the hole matches the size and shape of your fiberglass pool shell.
Check for Utility Lines
As excavation begins, your installer will check for any utility lines like gas, water, or electrical cables. If any are present, they’ll either reroute them or avoid them to prevent damage.
Prepare the Base
Once the hole is ready, a gravel base is added to provide a stable foundation for the pool. This layer is crucial in ensuring that your pool is level and will settle evenly over time.
Pool Delivery and Placement
Now comes the exciting part: bringing your fiberglass pool to your yard.
Transporting the Pool
The fiberglass pool shell is transported to your property using a specialised trailer. It is essential to ensure that the delivery route is clear of obstacles like fences or trees.
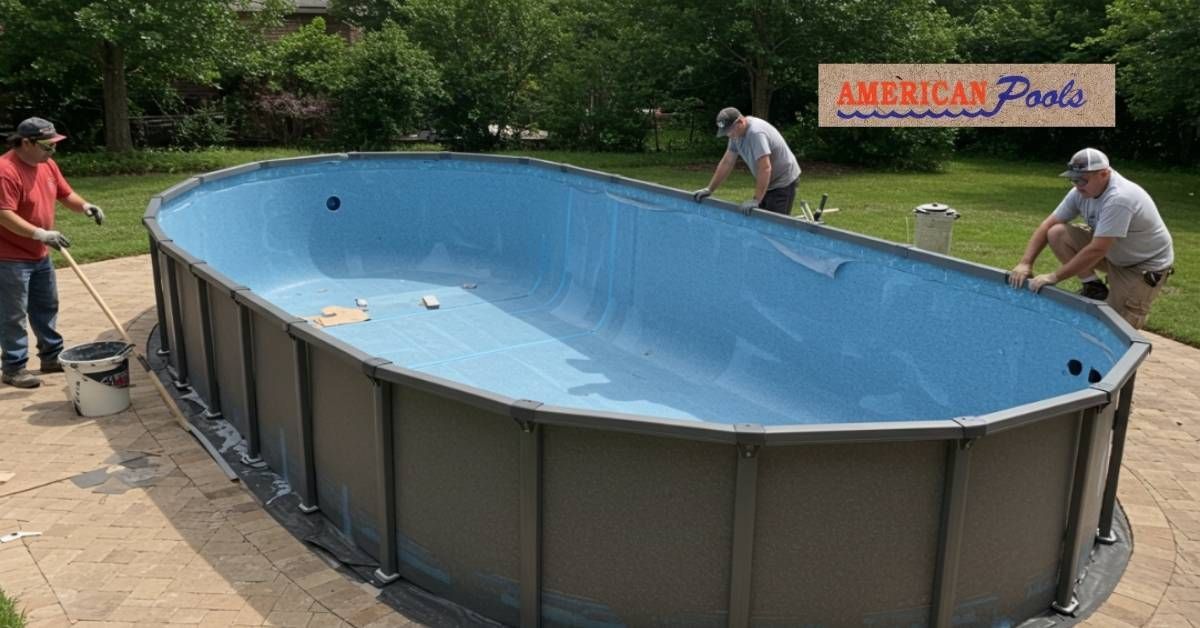
Lifting and Positioning the Pool
Once the pool is delivered, a crane will be used to lower the shell into the excavated hole carefully. The pool will be checked for level during the placement to ensure it is positioned correctly.
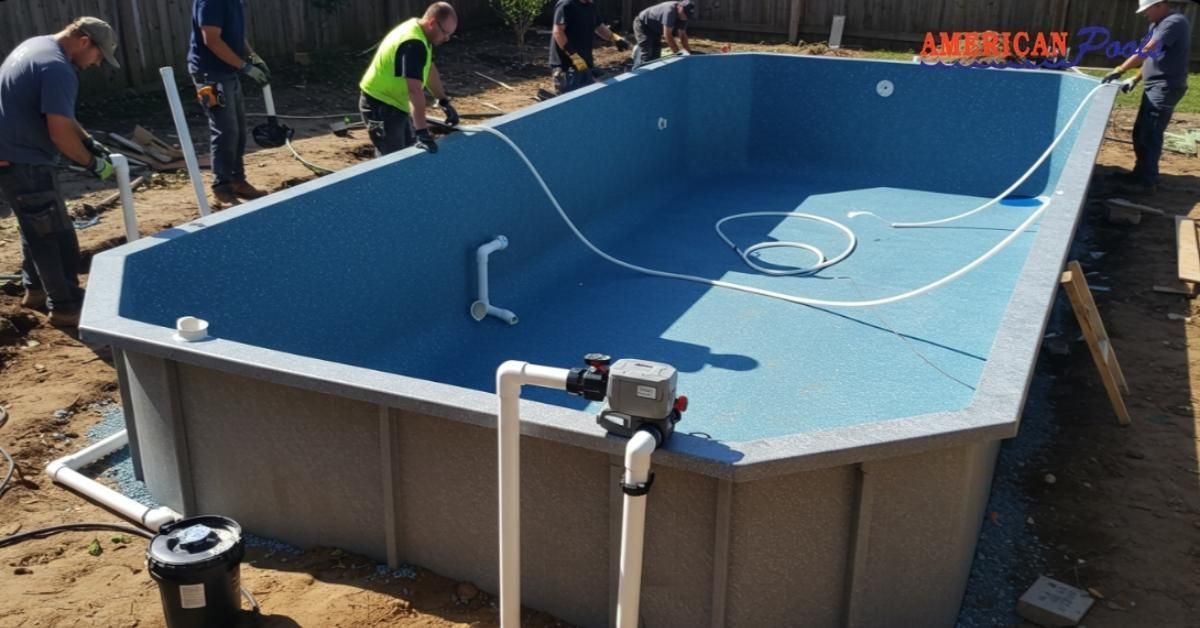
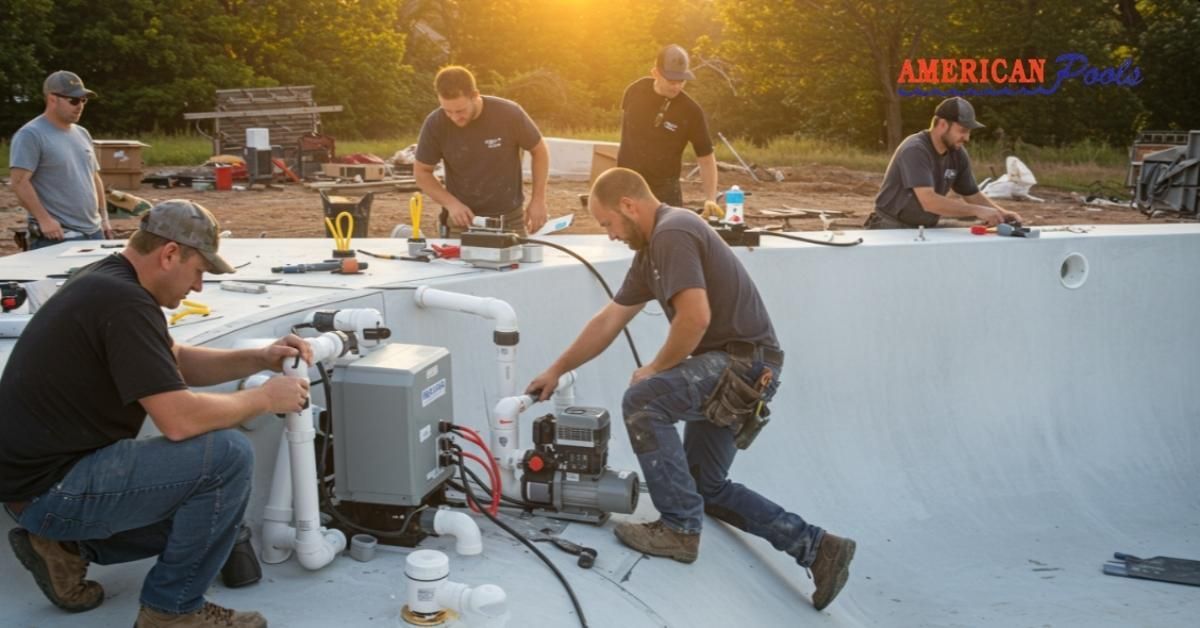
Plumbing and Electrical Installation
After the pool is set, the next step involves setting up the plumbing and electrical systems.
Install the Plumbing System
Plumbing is essential for the smooth operation of your pool. This includes installing skimmer boxes, suction fittings, and return fittings. Your installer will also connect pipes from the pool to the filter and pump systems.
Electrical Work
Next, electrical connections will be made to power the pool's lighting system, pump, and heater, if applicable. Ensuring that all wiring is up to code is critical for safe operation.
Pressure Testing
After plumbing and electrical work is completed, your installer will conduct a pressure test to check for leaks and ensure everything is functioning as it should.
Backfilling the Pool
With the pool set and the plumbing in place, it’s time to backfill the area around the pool.
Start Backfilling
Backfilling is the process of filling the gap between the pool shell and the walls of the excavation. It’s done carefully using gravel or flowable fill to lock the pool securely in place.
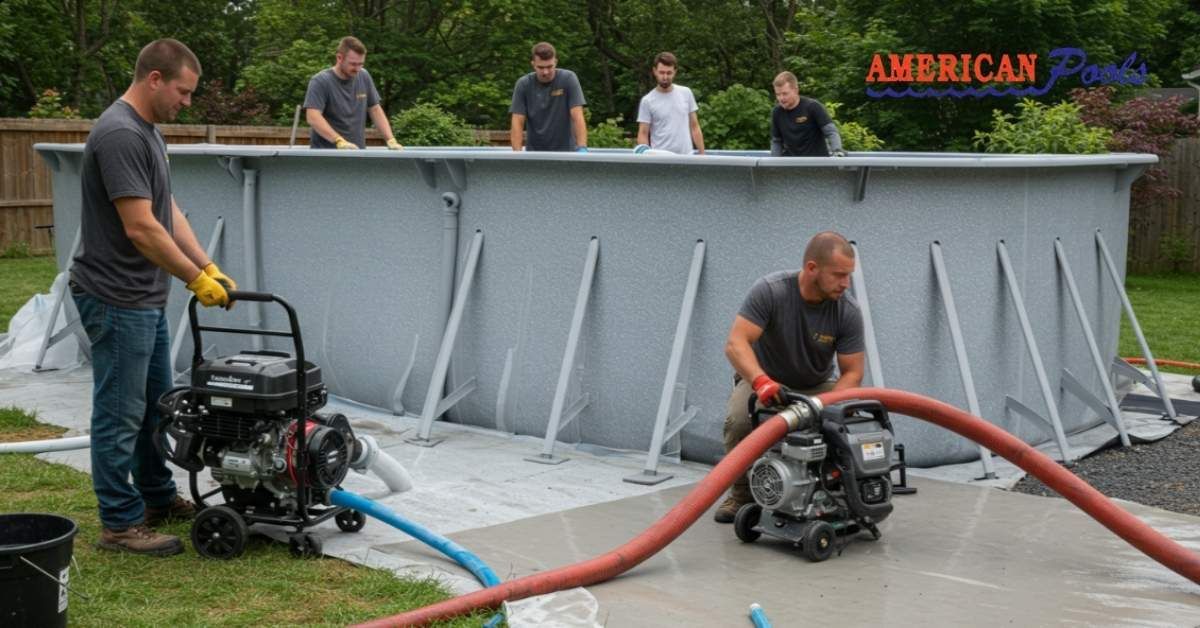
Simultaneously Fill with Water
To maintain balance during backfilling, water will be added to the pool while the backfilling process is underway. This ensures that the pool maintains its position and doesn’t shift during the installation.
Compaction
Once backfilling is complete, the material around the pool is compacted to ensure stability. This is a crucial step to prevent settling or shifting in the future.
Reinforcement and Bonding
After backfilling, reinforcement and bonding will further secure your pool.
Adding Rebar
Reinforcing rebar is attached around the pool’s perimeter to add strength. This reinforcement ensures that the pool stays intact for many years to come.
Concrete Bond Beam
A bond beam made of concrete is poured around the perimeter of the pool. This step secures the fiberglass shell, reinforcing it for added stability and strength.
Coping and Deck Installation
Once the structure is reinforced, it’s time to finish the pool area.
Install Pool Coping
Coping is the trim that borders the top edge of the pool, serving both a decorative and practical purpose. This step involves adding the coping material, such as stone or tiles, to the pool’s perimeter.
Decking
The next step is installing the pool deck. This involves laying the material (stone, concrete, etc.) around the pool to create a functional and visually appealing space. Decking also includes the installation of steps, pathways, and other amenities.
Final Touches
Lastly, landscaping and fencing are installed. This final step ensures that your pool area is both functional and aesthetically pleasing.
Pool Start-Up and Maintenance Tips
Your pool is almost ready to use! The next step involves starting up the pool and ensuring it is running efficiently.
Pool Start-Up
The pool start-up process includes turning on the pump and checking for proper water circulation. Chemical testing is also done to ensure water quality.
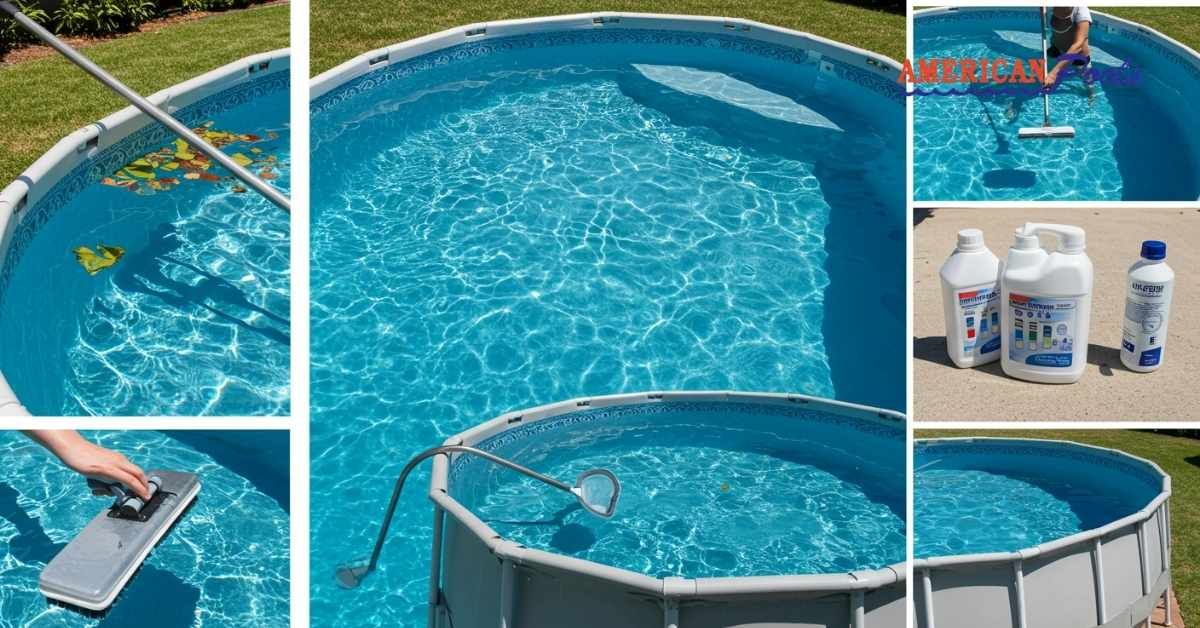
Ongoing Maintenance
To keep your fiberglass pool in top shape, regular maintenance is essential. This includes cleaning, balancing water chemistry, and ensuring the pool’s filtration system is working properly.
Conclusion
Installing a fiberglass swimming pool is an exciting project that adds value and enjoyment to your home. By following the steps outlined above, you can ensure that your pool is installed properly and will last for years to come. Whether you're working with a professional installer or taking on the project yourself, proper planning and preparation are key to success.
For a smooth and hassle-free installation, consider reaching out to an experienced fiberglass pool installation professional. Get in touch with American Fiberglass Pools today to get started on creating your perfect backyard oasis!
FAQs On How to install a fiberglass swimming pool?
1. What are the steps involved in installing a fiberglass swimming pool?
The installation of a fiberglass swimming pool involves several key steps: planning and permitting, site preparation, excavation, pool delivery and placement, plumbing and electrical installation, backfilling, reinforcement, coping and decking, and final pool start-up. Each step requires attention to detail to ensure a proper and safe installation.
2. How much does it cost to install a fiberglass swimming pool?
The cost of installing a fiberglass swimming pool can range from $20,000 to $50,000, depending on the pool's size, location, and additional features like decking and water features. It’s essential to get a detailed quote from an experienced pool installer to understand the total cost involved.
3. How long does it take to install a fiberglass swimming pool?
Installing a fiberglass swimming pool typically takes around 1 to 3 weeks, depending on factors such as weather, site conditions, and the complexity of the installation. Some steps, like excavation and plumbing, may take longer, but fiberglass pools generally have a faster installation timeline compared to other pool types.
4. Can I install a fiberglass pool myself?
While some experienced DIYers can install a fiberglass pool, it's generally not recommended. Installing a pool requires knowledge of excavation, plumbing, electrical work, and the use of heavy machinery. Hiring a professional pool installer ensures the job is done correctly and safely.
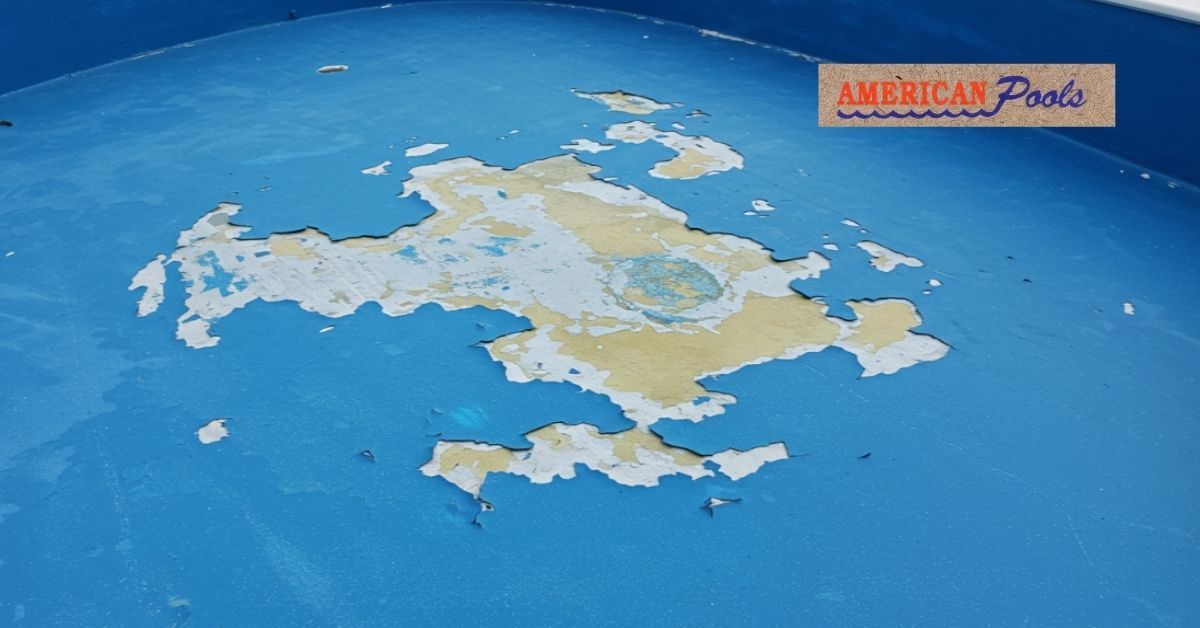
5. What maintenance is required for a fiberglass swimming pool?
Maintaining a fiberglass pool is relatively simple. Regular tasks include checking water chemistry, cleaning the pool filter, skimming the pool surface for debris, and ensuring the pump and filtration systems are working correctly. Periodic inspections and occasional resurfacing are also recommended to keep your pool in excellent condition.